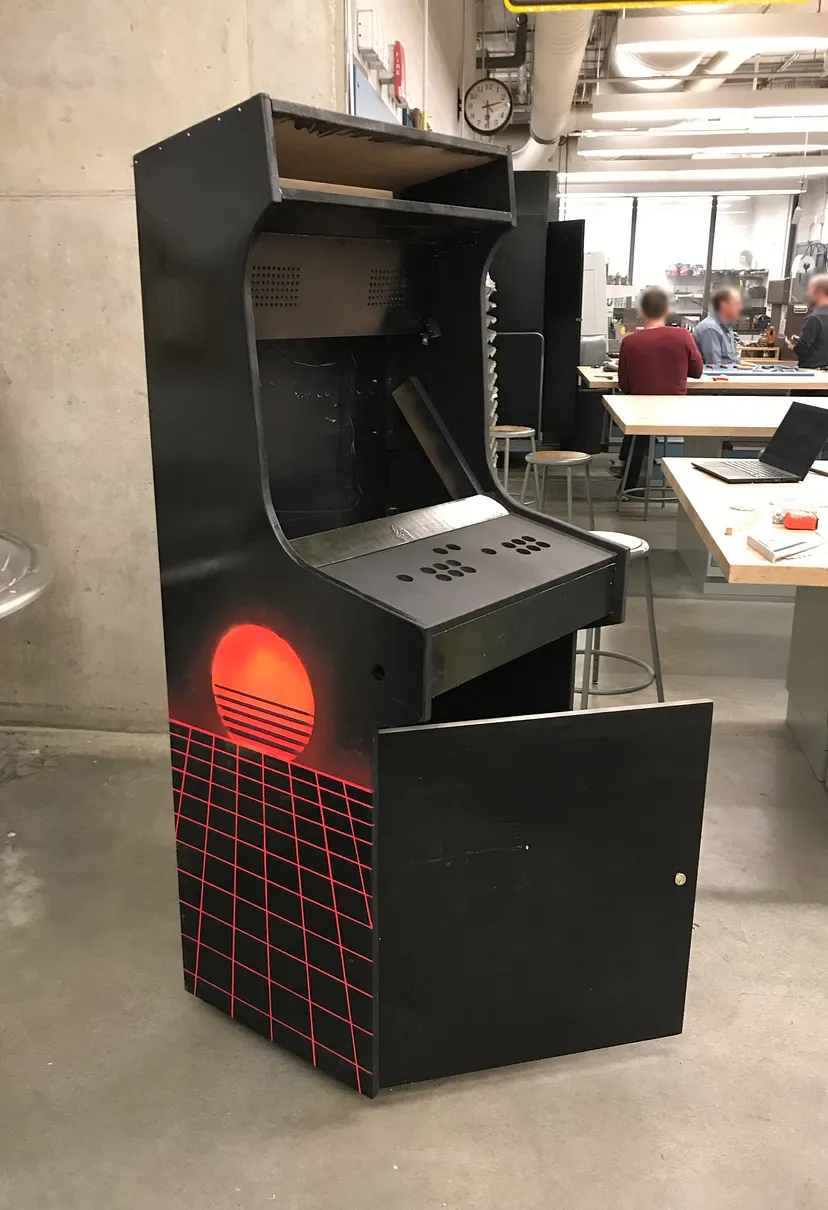
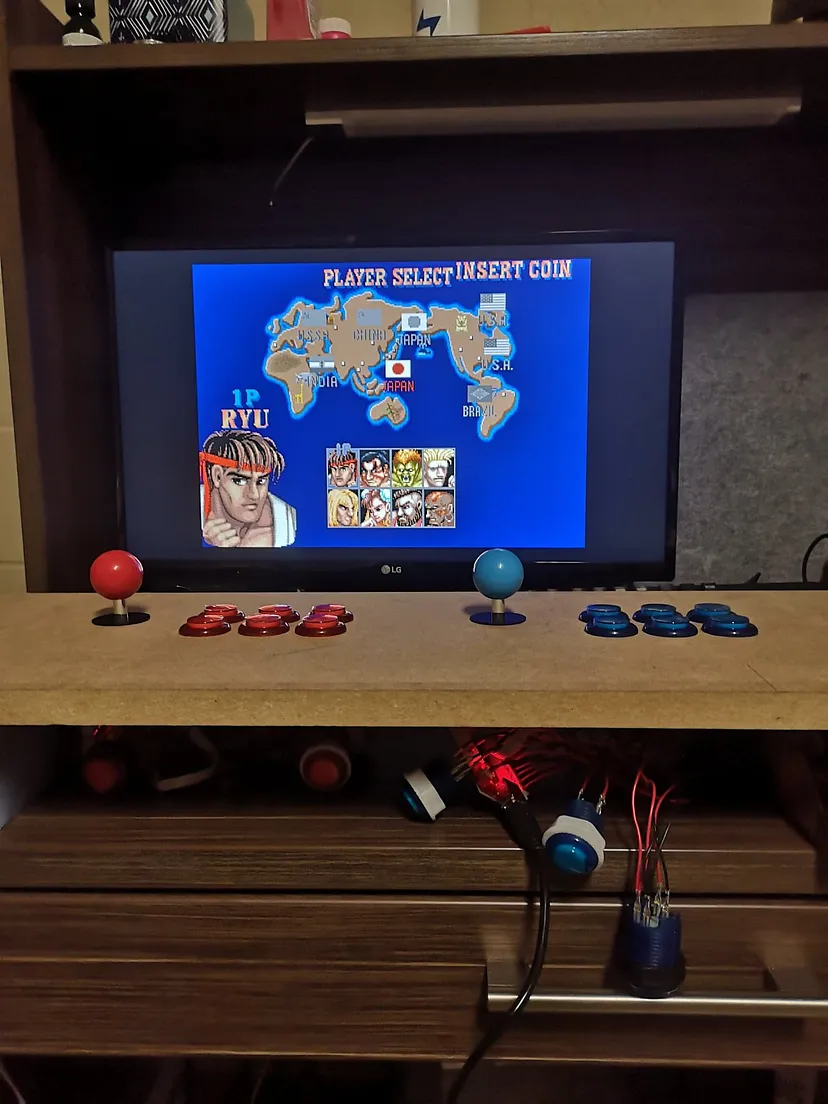
Relive your retro gaming memories with a DIY full-size cabinet.
Get StartedRemember the days when arcades were the place to be? The dim lighting, the cacophony of bleeps and bloops, the smell of pizza and soda in the air? For those of us who grew up in the 80s and 90s, arcade machines weren't just games - they were portals to other worlds.
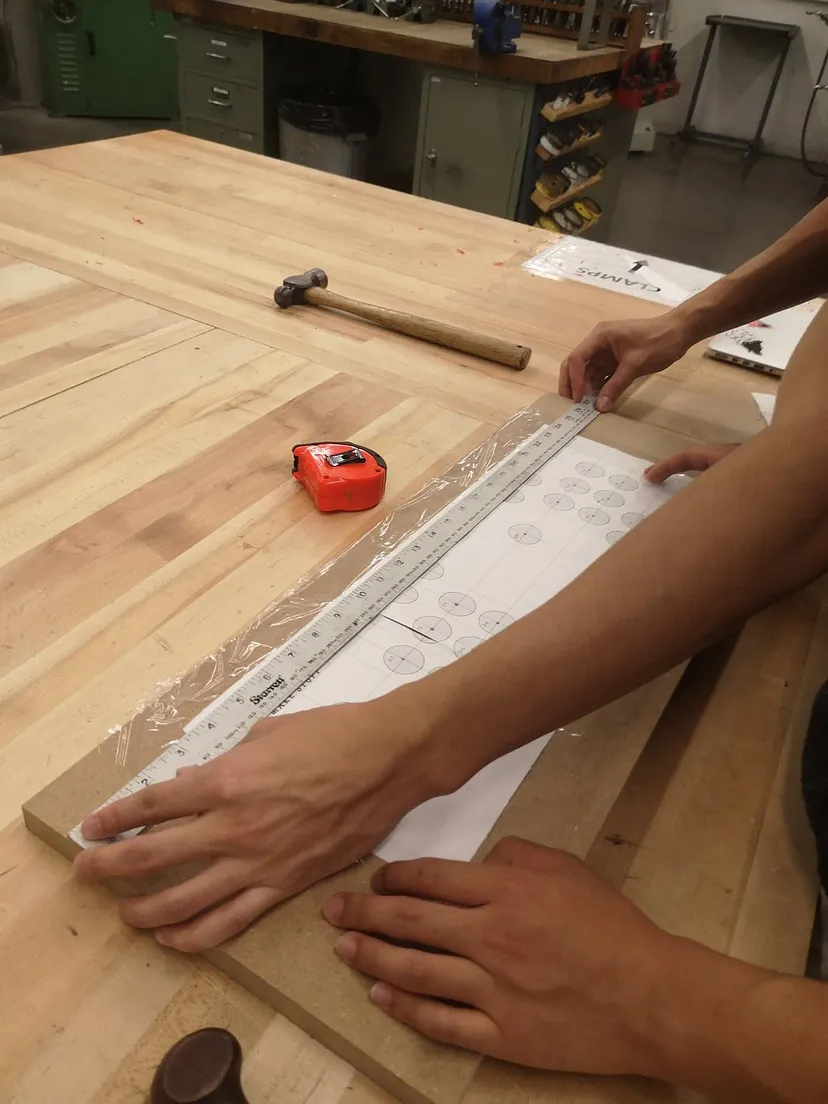
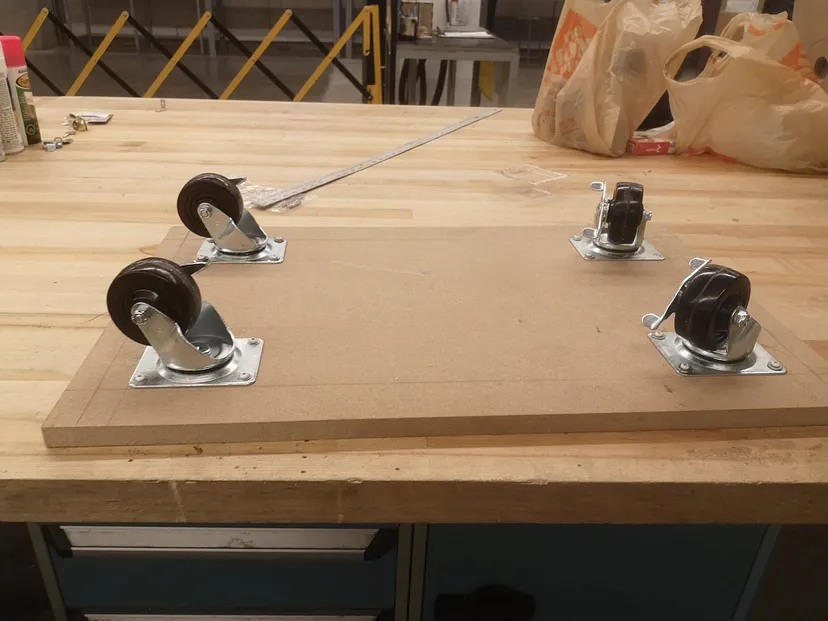
Now you can bring that magic into your home with this DIY Raspberry Pi arcade cabinet project. It's more than just playing games - it's about recreating that authentic arcade experience, complete with joysticks, buttons, and that satisfying click-clack sound when you hit the controls.
After researching classic arcade cabinets, we settled on dimensions that feel authentic but fit comfortably in a home:
The dual-control layout allows for both solo and competitive play, perfect for fighting games or classics like Pong. The slightly angled control panel (12°) provides ergonomic comfort during extended gaming sessions.
(Including all materials, electronics, and tools if you don't already own them)
Using your jigsaw, carefully cut the MDF according to your template. The sides should be identical mirror images.
Sand all edges smooth. Apply wood filler to any imperfections and sand again when dry.
Apply primer first, then your base coat. Multiple thin coats work better than one thick coat.
Connect buttons and joysticks to USB encoders. Test each input before final installation.
Drill button holes in control panel. Secure joysticks from underneath with mounting plates.
Create a secure mount for your LCD screen at the optimal viewing angle (about 15°).
After several failed attempts with traditional arcade colors (uneven paint application, drips, and mismatched shades), we embraced the vaporwave aesthetic. The pastel gradients and geometric shapes not only hide imperfections but give the cabinet a unique modern-retro look.
First Attempt: Traditional Red & Blue
Final Design: Vaporwave Style
Professional-grade Sanwa buttons and joysticks with authentic arcade feel and response.
Secure storage for your Raspberry Pi and accessories with key-locked front panel.
50W stereo speakers with bass reflex ports for that authentic arcade sound.
Connecting all components is simpler than it looks. The USB encoders make button wiring straightforward, and the Raspberry Pi handles everything with minimal power requirements.
For software, we recommend RetroPie - a fantastic frontend that makes managing your game library a breeze. Installation is straightforward:
The final assembly involves attaching the side panels with hinges, securing the monitor bezel, and installing the marquee lighting. Take your time with cable management - use zip ties and adhesive clips to keep everything neat.
Buy your monitor first and build the cabinet around its dimensions. This ensures a perfect fit and avoids awkward gaps or modifications later.
After about 40 hours of work spread over weekends, you'll have a professional-quality arcade machine that would cost thousands to buy pre-made. The satisfaction of playing your first game on a machine you built yourself is unbeatable!
This project isn't just about playing games - it's about preserving gaming history, learning new skills, and creating something truly special. Whether you're reliving childhood memories or discovering classic games for the first time, this Raspberry Pi arcade cabinet will provide endless entertainment for years to come.